Get Started
First, create your MyMaktub login.
Go to auth.mymaktub.com and click
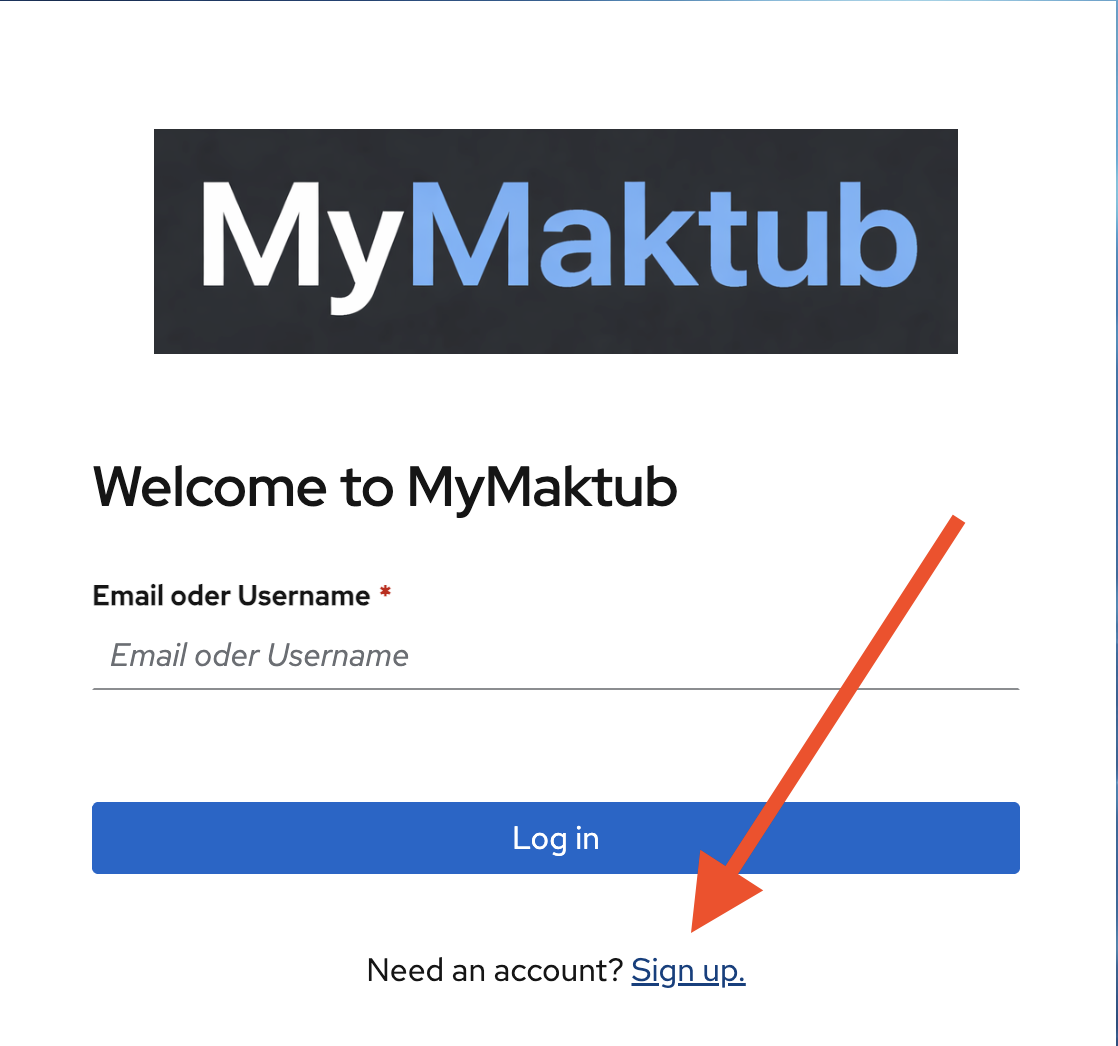
1. Create your login
Once you’ve clicked Sign up, create your account:
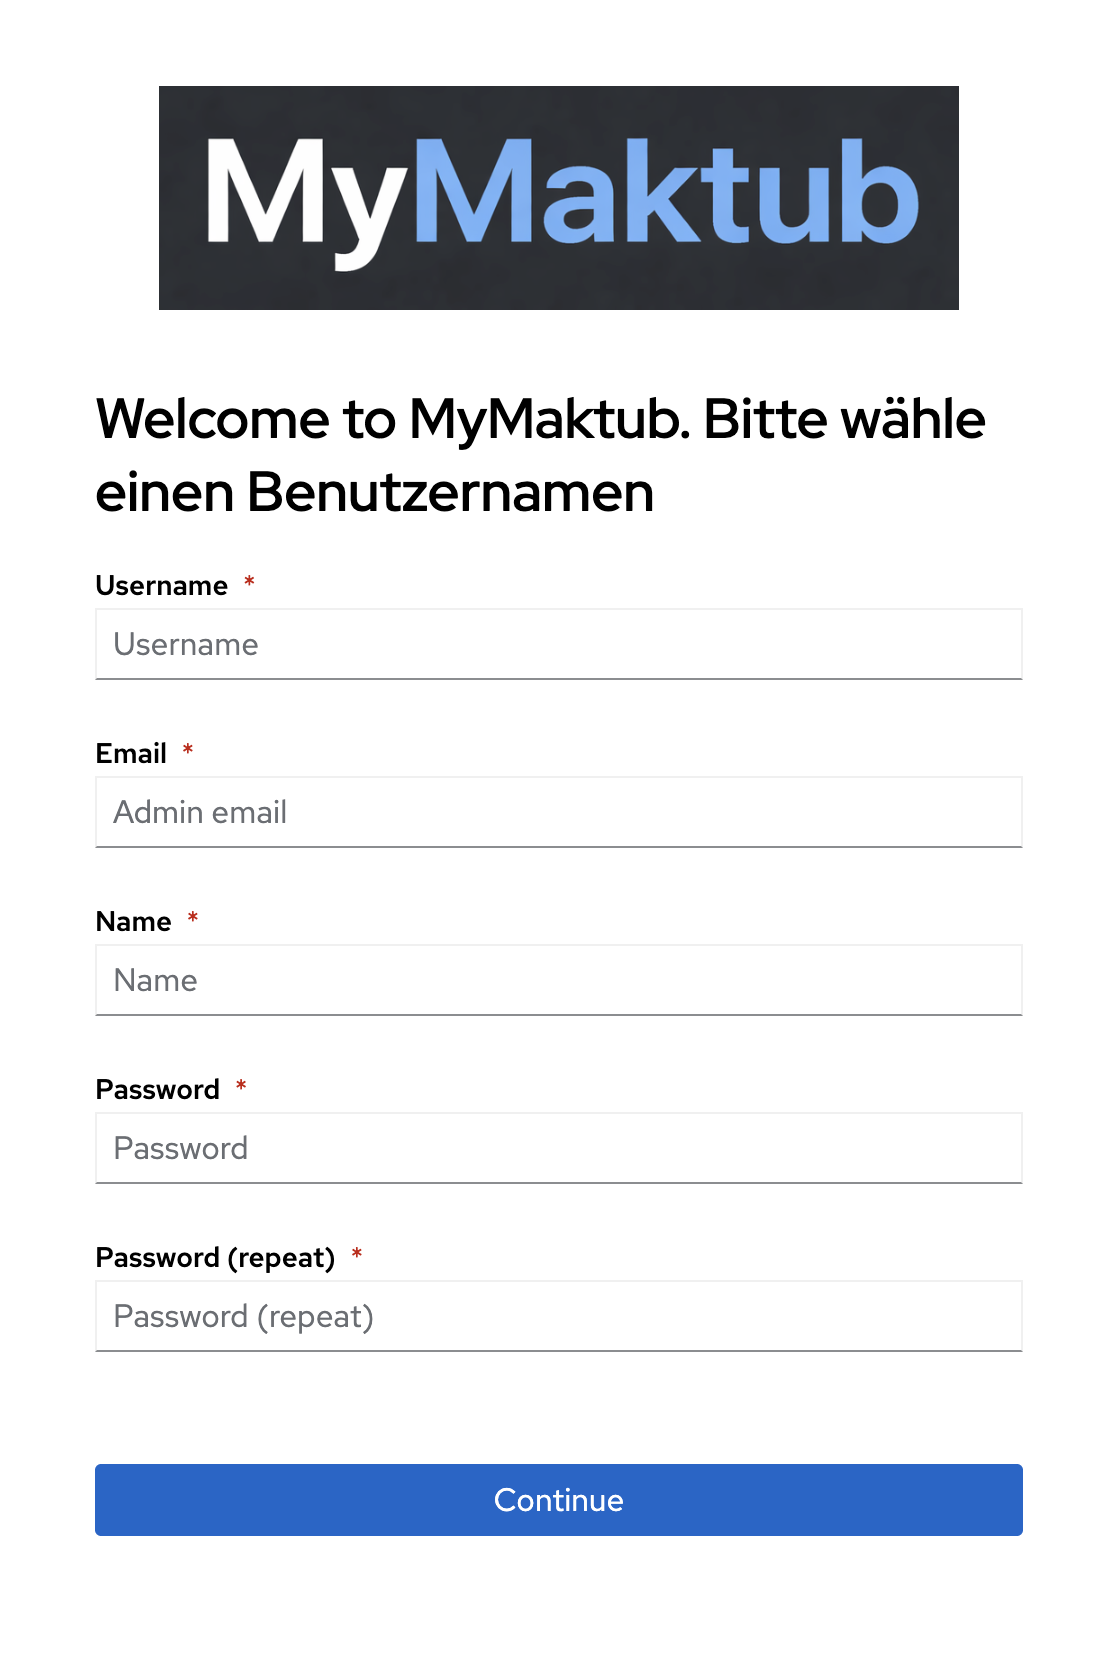
- Username – choose a username (e.g. your first name)
- Email – enter your email address
- Name – your full name
- Password – choose a secure password and repeat it
- Click Continue
You will receive a confirmation email – please click the confirmation link inside. Your account will then be activated by an administrator. You’ll receive an email once your new account is ready to use.
After logging in, all MyMaktub services are available to you – you only need to sign in once per service.
2. Activate services
To make sure you can log in smoothly via the apps later, sign in once directly in your browser for each service. This activates your account there.
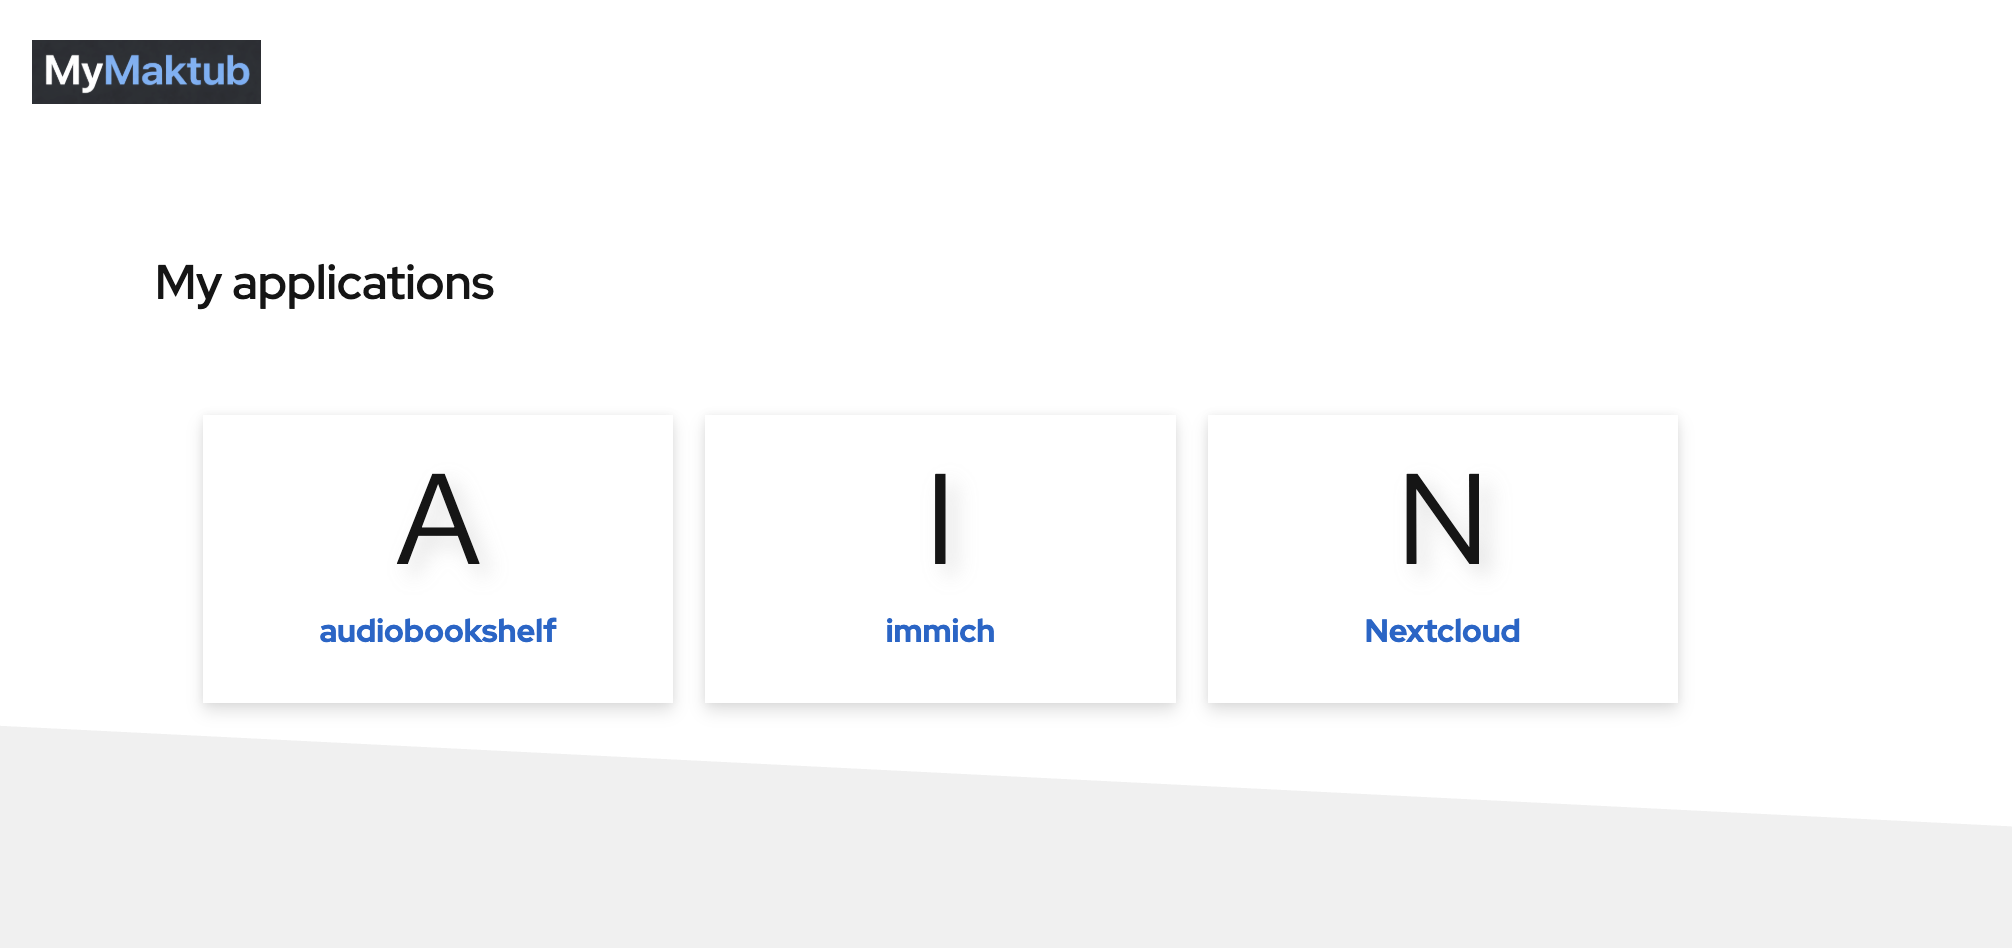
- Immich → photos.mymaktub.com → click Login with MyMaktub
- Nextcloud → cloud.mymaktub.com → click Login with MyMaktub
- Audiobookshelf → audio.mymaktub.com → click Login with MyMaktub
You’ll be briefly redirected to auth.mymaktub.com and then automatically sent back. After that, all apps are ready to go.
3. Nextcloud Desktop – sync your files
- Download and install Nextcloud Desktop
- Open the client → enter the server address:
https://cloud.mymaktub.com - Click Login with MyMaktub → your browser will open
- Confirm access → back in the client, select your sync folder
- Click Connect – synchronisation starts automatically
4. Immich – photos & videos
Immich replaces Apple Photos or Google Photos. Your images are stored on the MyMaktub server.
Install the iOS app:
- Download the Immich App from the App Store
- Open the app → enter the server URL:
https://photos.mymaktub.com - Tap Login with MyMaktub
- Sign in with your credentials
Set up automatic backup:
- In the app, tap the cloud icon next to your profile picture in the top right
- Under backed-up albums, tap Select and choose the “Recents” folder
- Enable Backup
Questions or problems? Write to hey@mymaktub.com